Best Concealer Ever!💓

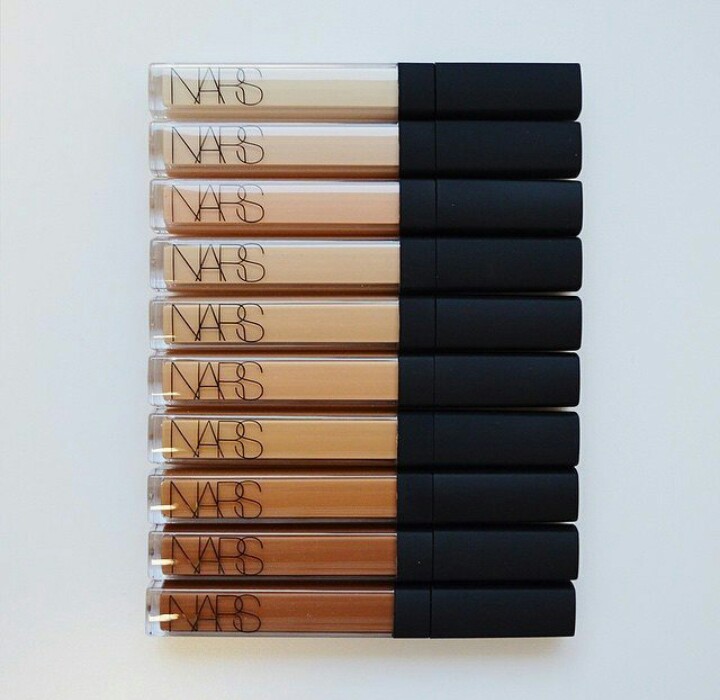
Nars creamy concealer

image

In my opinion this is got to be the best concealer. It is so creamy and full coverage that it actually hides your dark circles. I tried so many different concealers and for high end products this is got to be the best.
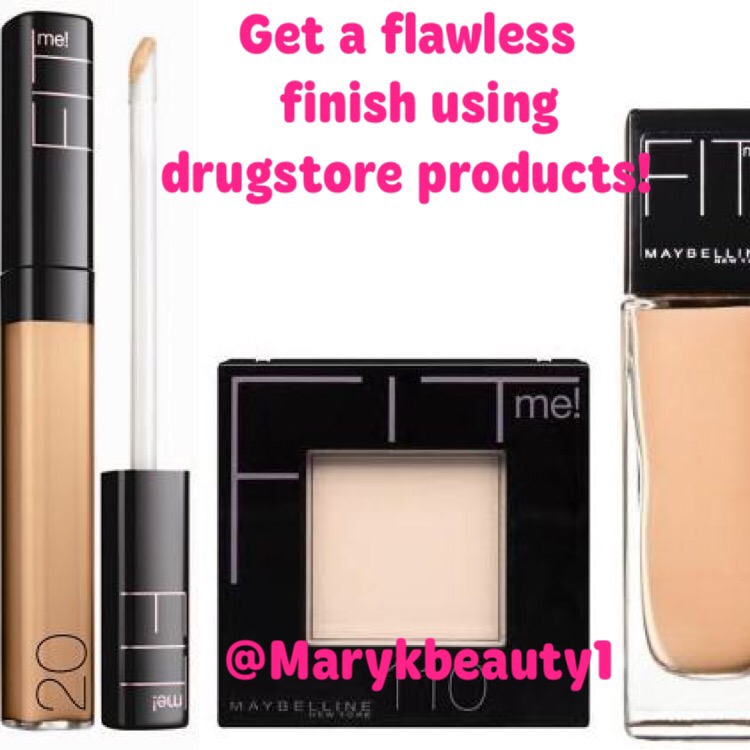
If you’re looking for a cheaper alternative to this amazing concealer, I would say the Maybelline fit me concealer. It is also great but I still prefer Nars creamy concealer. This concealer has colours that actually fit most skin tones.

image

A lot of concealers are just so tacky and thick or runny with no coverage. I really am happy with this product and recommend it to anyone looking for a great concealer. When I use this concealer it actually stays on all day without moving and looking flawless.
Xoxo

#concealer #narsconcealer #nars #bestconcealer #makeup #beautyaddict #mua #beautyblogging
Blackhead removal- DIY

flawless-skin

Hey everyone, so I been searching for a good blackhead removal and came across two; toothpaste & backing soda and egg whites mask. I myself have some blackheads but nothing major, so I tried these two method and they worked pretty good.

Toothpaste method:

You will need…

-toothpaste (no mint)

-baking soda

-1 tsp water

– old tooth brush

– mixing bowl

So the first method I used a toothpaste with no mint, small amount of baking soda and 1 tsp of water. I used a towel with hot water and placed it around the nose area, and kept it for a good two minutes to really get those pores out. Then I mixed together these ingredients and brushed it on my nose with an old toothbrush. You should keep this on for 5 minutes then rinse off with cold water. Once you wash it off, it doesn’t only look fresh but feels fresh. This method did work a little for me but every skin type is different, this works really good for some people and for some doesn’t at all.

Egg whites method:

You will need…

-1 egg white

-small tissue paper

– a brush

– mixing bowl

The second method is the egg whites, and I guarantee that this will make a big difference in your blackheads, if this doesn’t change your blackhead problem, I promise it will get your skin to look shiny and clean. First I only separated the egg whites into a little bowl, then used a old makeup brush to brush it on. I keep an old makeup brush for facial DIY’S. Once I have a good layer of this mix, I placed the small size tissue paper on top of where I put the egg whites. On top of the tissue I then add another coat of egg whites and wait till this dries out. After fives minutes you can remove it and wash off the rest.

I noticed that my blackheads vanished and that my nose area looks so shiny and clean. For next time I will add this all over my face because I felt like the egg white tightens up your face and it’s nutrition’s are really good for your skin. This method also reduces chances for blackheads in the future.

I really liked the second method and enjoyed the results of the way my face feels and looks. Hopefully you guys find this helpful and if you have any other method please share them with me, I would defiantly try them out. Hope you have an amazing day.

-Mary

Instagram

100 Followers WordPress Exclusive Giveaway!!

ShayFabs

Hello Lovelies!

I get so excited when I receive notifications from WordPress and it’s especially exciting whenWordPress lets you know that you’ve reached a milestone such as reaching 100 Followers!! Woohoo!!!

100 Followers

I published my very first blog post less than3 monthsago. I really had no idea that I would come to enjoy blogging this much. I absolutely love engaging with other bloggers because we share the same passions. While I truly wish that I had more time to blog, I post whenever possible andloveevery minute of it.I wish I could wake up in the morning and just blog (then maybe I’d look forward to waking up sometimes!)

I want to give all of my followers aBIG THANK YOU for all of your kind words, love & support.I think you are all every bit of amazing!! xx

To expressmy gratitude, I wanted to give you all a chance to win…

View original post 182 more words

How to Rock Red Lips

The Rare Ruby

  • Accept that there isn’t one perfect shade of red for every girl. There are so many shades of red lipstick, there’s no way just one can be perfect for every skin tone. The best way to find yours is to try on as many as possible, take a look in the mirror and decide which shade(s) makes you look fresher, brighter and more radiant. Snap pics on your phone to compare shades and ask for help from a saleswoman if you feel like you’re striking out.
  • Don’t over do it. When wearing a red lip,the rest of your makeup should be casual and simple. A lot of eye makeup will not only make you look like a circus clown, but it’ll also make you look older—and not in a good way. Bottom line: don’t go overboard
  • Smooth out your lips. Red lipstick can draw attention to chapped lips, which…

View original post 179 more words

MAC Releasing 5 New Lipsticks on July 9th!!

These are amazing! Can’t wait to get my hands on them!! @shayfabs

ShayFabs

Heads up MAC lipstick lovers!!

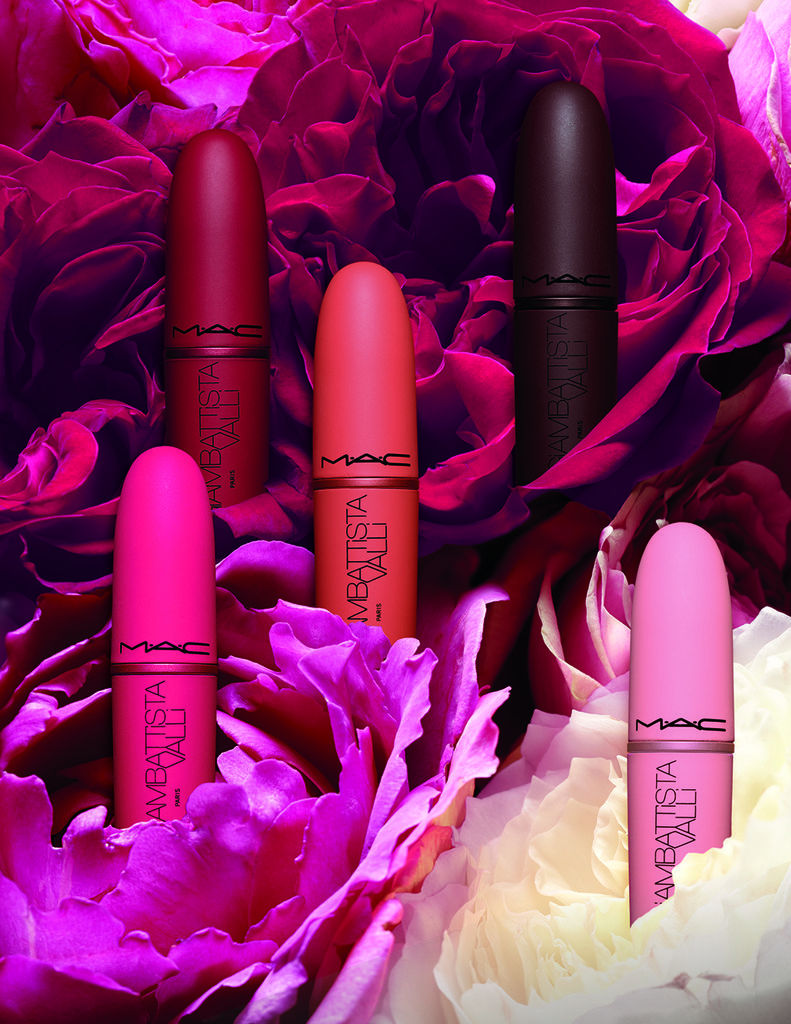
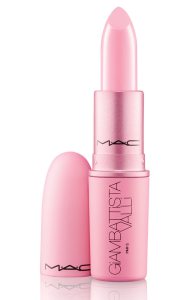
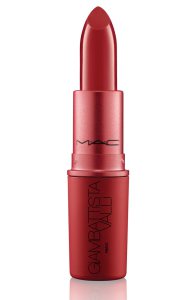
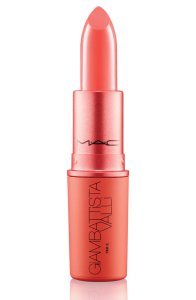
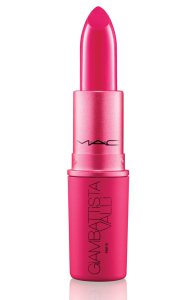
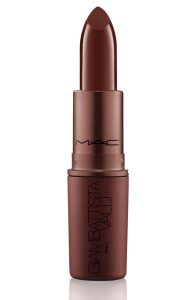
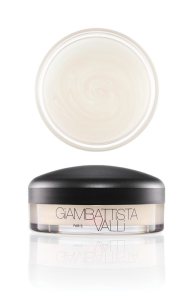
In case you haven’t heard yet, MAC has collaborated with French fashion designer, Giambattista Valli, and are releasing 5 new matte lipstick shades that range from a fair pink to a sexy aubergine (eggplant color). They are also releasing a new high-gloss product (Crystal Glaze) that is supposed to turn-up the shades from matte to glossy. The entire collection will hit stores on July 9th.

I can’t help but be super excited for this MAC release so I wanted to share the exciting news!

Check out these FABULOUS colors:

Bianca B ($18)

Bianca-B-18 Photo source: POPSUGAR

Charlotte ($18)

Charlotte-18 Photo source: POPSUGAR

Margherita ($18)

Margherita-18 Photo source: POPSUGAR

Tats ($18)

Tats-18 Photo source: POPSUGAR

Eugenie ($18)

Eugenie-18 Photo source: POPSUGAR

Crystal Glaze Gloss ($23)

Crystal-Glaze-Gloss-23 Photo source: POPSUGAR

All of these shades were inspired by fabric swatches in the Giambattista Valli fashion vault, creating a diverse range of colors. Read more on the POPSUGAR website.

These lipsticks…

View original post 134 more words

Finding the right tools:

 Hey everyone, today I wanted to discuss with you a really important topic in makeup: The Right Tools.

I struggled at the beginning with finding the right brushes and what not but eventually in my opinion I found the best affordable brushes you could use. When i first started makeup about 3 years ago, I didn’t expect having the good quality brushes would make such a big difference, but believe me when I say, it really makes a difference in the way you look.
So I’m going to start with the most raved about tool for applying foundation…the holy grail Beauty Blender. It’s seriously more than just a cute pink sponge. It evenly distributes your makeup, doesn’t steal or cake up your makeup look. I promise you when I say that it makes your makeup flawless. Now usually I use the beauty blender but when I just want to use something else for foundation, the only thing I would suggest other than the beauty blender would be the Sigma F80 Kabuki. Seriously these two are just like magic! I just love both of these tools for anything from foundation, to concealer to contouring. So for foundation these two tools are the best I’ve come across.

Now for blush and contouring, I’ve always used the Real Techniques expert face brush and the contouring brush in the core collection. The contouring brush just fits right in the cheek bone, blends perfectly and creates a natural contour. Same with their blush brush, it almost looks like you blush naturally from the effect it gives.

For setting  your under eye makeup, I heard so many people talk about the Sigma F86 tapered kabuki that I just had to buy it. This brush honestly blends everything smoothly and removes access powder.

As for eye brushes, the one I recommend the most and think everyone needs is the E 40 tapered blending brush. If you want a transition colour blended perfectly, this brush will do it. I use it every time, before I use any other brush for eye shadow. Even if I’m just going for a winged eyeliner, I use a warm light shade of brown and just blend it, and it just makes a boring winged liner into a really pretty liner. The next brush set I would recommend is the starter set by Real Techniques for eyeshadows.

For brows, hands down the best I think is the Anastasia beverly hills brow wiz. Now there are a lot of other brushes and tools but again I feel like its easiest and best.


I hope you guys enjoyed this, a lot of people out there still look for great tools to get perfect makeup. I want to make it easier for people to find these tools and not struggle like I did at the beginning.

Keep up for more cool and interesting tips.

Have a great day xoxo

theBalm Cosmetics Review:


 theBalm Nude ‘tude Eyeshadow Palette

Hi makeup loves, today I’m going to review the Nude tude eyeshadow palette that I have purchased a few days a go. First of all, the packaging is just so cute and nude. I love it, its got so many colours you can play with and create many different looks with. It comes in 12 different colours; sassy, stubborn,selfish, sophisticated, sexy, serious,snobby, stand-offish, sultry, schitzo, silly and sleek. It’s cool because they all start with an “s” and they all match the colour.  

Sassy is a frosted white colour

Stubborn is a light peach colour.

Selfish is a dark grey shimmery colour.

Sophisticated is a medium brown colour.

Sexy is dark wine-brown colour.

Serious is a black with a brown matte .

Snobby is a gold yellow. 

Stand-offish is a rose gold nude colour. 

Sultry is a light coffee brown colour.

Schitzo is a golden bronze colour.

Silly is a wine brown with shimmery copper colour.

Sleek is a black-brown matte colour.

  I personally don’t own a lot of theBalm cosmetics but I do love their quality shadows and how much pigment it comes with. Also this palette is all about nudes and browns this can be for everyday looks if you don’t like pinks, purples and blues.

Overall it’s awesome and totally worth every penny. 

Hope you guys found this helpful if your looking for reviews about this palette.

Comment below about what products you want reviewed.

Have a good day ^_^

About Me:

Hey makeup dolls, here is a little bit about me. I am a make up artist and I graduated from Robert Jones make up school. I also completed many other classes on the side. I love make up and showing your beauty to the world. P.S. I’m taken 🙂

How to achieve a flawless finish!


Hi makeup dolls! Today i’m going to share with you how I achieve a flawless finish using only drugstore products (Maybelline)

Here is what you will need:

– Maybelline BB cream

– Maybelline fit me foundation

– Maybelline fit me concealer

– Maybelline fit me powder foundation

– Maybelline fit me stick foundation (3 shades darker than natural skin tone)

– Maybelline concealer/highlighter (3 shades lighter than skin tone)

– Maybelline fit me blush (pink)

– Hard candy highlighter

– Beautyblender

– Sigma f80 kabuki brush

– Real techniques powder brush

First I start off with moisturizing my face with a moisturizer (Cetaphil.) I then apply the BB cream using the flat kabuki brush by sigma. I start by applying little bit of foundation with my beauty blender because I am going to highlight and contour. The key to highlighting is using the t zone as a guide (under eyes,forehead,bridge of nose, and chin.) To contour you need to define the outside of your face (edges of the nose, on the cheek bone taking it upwards to the hairlines of the forehead.) blend…blend…blend, begin with blending the highlight and then the contour.

I use a damp beauty blender for this part because i feel like no brush gives it that dewy flawless finish. After this step is perfectly blended I set the highlight with my fit me powder foundation, and using a darker shade of that same powder to bronze. I used a different highlighter for this (hard candy highlighter), I am in love with this highlight, I think everyone honestly should try it. For blush I chose the fit me blush in the pink shade. I set my face with my urban decay setting spray.
This is how I achieve that flawless look.

I just also want to talk more about these products. I honestly have been using Maybelline products ever since I started wearing makeup, especially the foundation and concealer. It works best for my skin and lasts so long when I follow the full steps by prepping my skin and then setting it on the end. Also I love their foundation sticks for highlighting and contouring too. The Maybelline concealer is very similar to the Nars creamy concealer. If you are a dry person the fit me foundation is perfect for you.


 Hope you guys like my review and how to achieve a flawless finish. Stay tuned for more!

xoxoxo ❤️